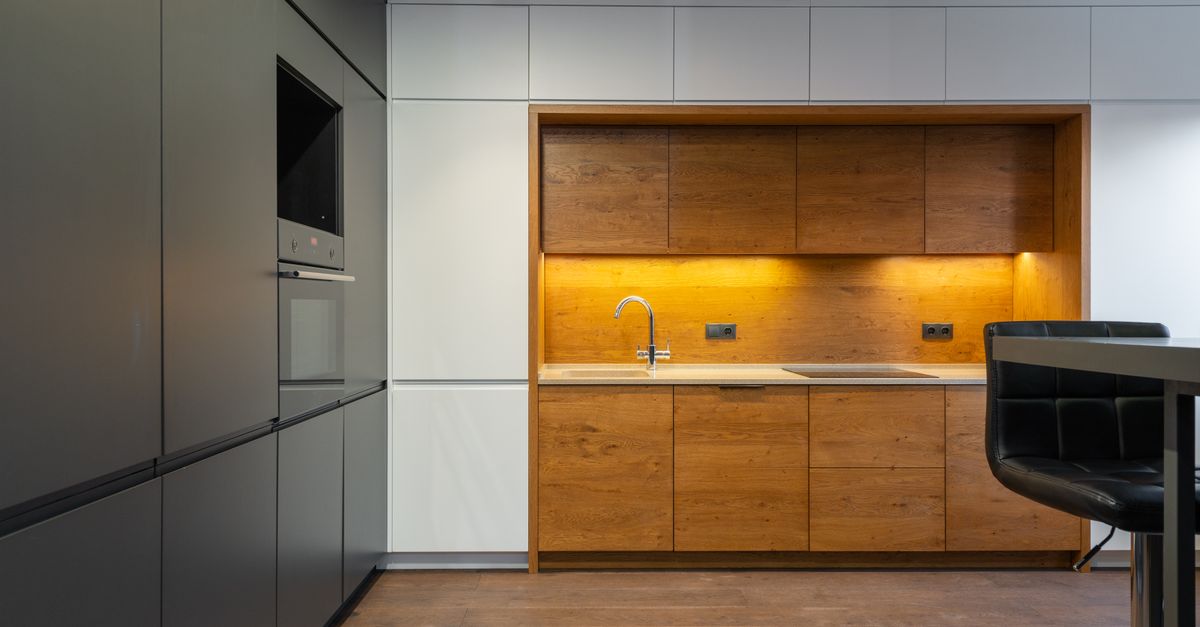
Understanding the Cabinet Refurbishment Process: Step by Step
Table Of Contents
Cleaning and Repairing Cabinets
Before starting any refurbishment process, it is essential to thoroughly clean the cabinets to remove grease, dust, and grime. A mixture of warm water and mild soap can work wonders to lift away these deposits. Use a soft cloth or sponge to apply the solution, ensuring not to soak the wood. For tougher stains or built-up residues, consider using a degreaser designed for kitchen use. Once cleaned, examine the cabinets for any damages such as scratches, dents, or loose joints.
Repairing areas that show signs of wear is crucial for achieving a polished final look. Wood fillers can be an effective solution for fixing nicks or holes. After applying the filler, allow it to dry completely and then sand the area smooth to match the surrounding surface. If there are any loose parts, make sure to tighten or replace screws or hinges as needed. Addressing these imperfections beforehand sets the stage for a successful painting or staining process later on.
Steps for Effective Surface Preparation
The first step in effective surface preparation involves cleaning the cabinets thoroughly. Remove all dirt, grease, and grime using a suitable cleaner. A mixture of warm water and mild soap can work well for this. For tougher stains or sticky residue, a degreaser may be necessary. Once cleaned, allow the surfaces to dry completely before proceeding with any further steps. This ensures that no contaminants interfere with the adhesion of paint or stain.
After cleaning, the next crucial step is to sand the surfaces. Use a fine-grit sandpaper to gently roughen the existing finish, which enhances the bond of the new paint or stain. Focus on flat areas, corners, and edges for uniformity. Wipe away dust and debris created by sanding with a damp cloth, ensuring a smooth surface for application. If needed, filling any dents or scratches with wood filler will help achieve a flawless finish.
Painting or Staining Cabinets
Choosing to change the color of your cabinets can dramatically transform a space. Before the painting or staining process begins, ensure that surfaces are properly prepped. This may involve sanding down existing finishes and cleaning off any dirt or grease. Proper preparation minimizes imperfections in the final appearance, providing a smooth surface for paint or stain application.
When applying paint or stain, using quality materials lays the foundation for a successful outcome. Consider using a high-quality brush or a sprayer for uniform coverage. Apply multiple thin coats instead of a single thick one to avoid drips and uneven textures. Allow adequate drying time between coats to achieve the desired depth of color and finish. Patience during this stage pays off, leading to a polished and professional look.
Techniques for a Professional Finish
Achieving a professional finish on your cabinets requires careful attention to detail and the right techniques. Begin by ensuring that the surface is clean and free from dust or debris. Use a high-quality primer tailored for your chosen paint or stain, as this will help to create a smooth, even base. Apply the primer in thin, even coats, allowing adequate drying time between applications. Sand lightly between coats to eliminate any imperfections, leading to a flawless final look.
When it comes to the actual application of paint or stain, employ a combination of brushes and rollers to cover larger surfaces while still reaching into corners and intricate designs. For paint, a foam roller can provide a smooth finish without brush strokes. Using a brush, apply the paint or stain in long, even strokes, working in one direction to prevent lap marks. Allow sufficient drying time and consider adding a clear topcoat for added durability and a professional sheen. Proper ventilation during the entire process will also enhance the finish by ensuring even drying and reducing the risk of imperfections.
Replacing Hardware
The choice of hardware can significantly impact the overall aesthetic of your cabinets. When selecting knobs, handles, and hinges, consider the style and finish that will complement your cabinetry. Options vary from sleek modern designs to vintage-inspired pieces. Pay attention to the material as well; options such as chrome, brass, or bronze can create different vibes within the space.
Before purchasing new hardware, take note of the existing holes in your cabinets to ensure compatibility. Measure the distance between the centers of the holes, as this will help narrow down your choices. Selecting new hardware that fits the format of the old makes for an easier installation. This step not only enhances functionality but also serves as a stylish update that can revitalize the overall appearance of your kitchen or bathroom.
Selecting Knobs, Handles, and Hinges
Choosing the right knobs, handles, and hinges can significantly impact the overall appearance of your cabinets. Begin by considering the style of your kitchen or bathroom. Antique brass often complements traditional decor, while sleek stainless steel fits modern aesthetics. Think about the size and shape as well. Oversized knobs can make a bold statement, whereas smaller options might blend in more subtly.
Material is another important factor. Metal finishes can provide durability and a contemporary look, while wooden knobs might offer warmth and a rustic feel. Aim for a cohesive look by matching the hardware to existing elements within the space. Ensure that the hardware is functional and comfortable to use, as well as visually appealing.
FAQS
What is the first step in the cabinet refurbishment process?
The first step is cleaning and repairing the cabinets to ensure a smooth and durable finish. This involves removing dirt, grease, and any damaged parts.
How can I effectively prepare the surface of my cabinets before painting or staining?
Effective surface preparation includes cleaning the cabinets thoroughly, sanding them to create a smooth surface, and applying a primer if necessary.
What type of paint or stain should I use for my cabinets?
It’s recommended to use high-quality paint or stain specifically designed for cabinets. Look for durable finishes that can withstand wear and tear, such as latex or oil-based options.
How do I achieve a professional finish when painting or staining my cabinets?
Techniques for a professional finish include using the right brushes or rollers, applying multiple thin coats, and allowing adequate drying time between coats.
What factors should I consider when replacing cabinet hardware?
When selecting knobs, handles, and hinges, consider the style, material, finish, and size that best matches your kitchen decor and personal taste.
Related Links
How to Select the Right Cabinet Refurbishment ExpertInnovative Techniques in Cabinet Refurbishment
The Benefits of Refinishing vs. Replacing Cabinets
Eco-Friendly Approaches to Cabinet Refurbishment in Newcastle
Signs It's Time to Refurbish Your Kitchen Cabinets
Essential Tools for Successful Cabinet Refurbishment
Choosing the Right Finish for Your Cabinet Refurbishment Project
Cost-Effective Cabinet Refurbishment Options for Newcastle Residents